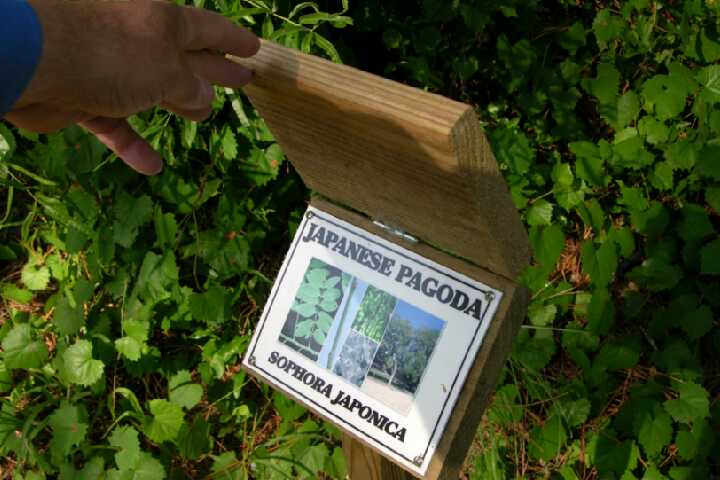
Using a lid aids learning by having students not first look at the sign but at the tree or plant. It also protects the sign from UV direct sunlight.
With the hinge mounted backwards and the pedestal at an angle, the lid will not remain open.

A 3 & 1/4 inch bucket auger makes a perfect hole for a 2 X4 post.
Building your post/pedstal and mounting
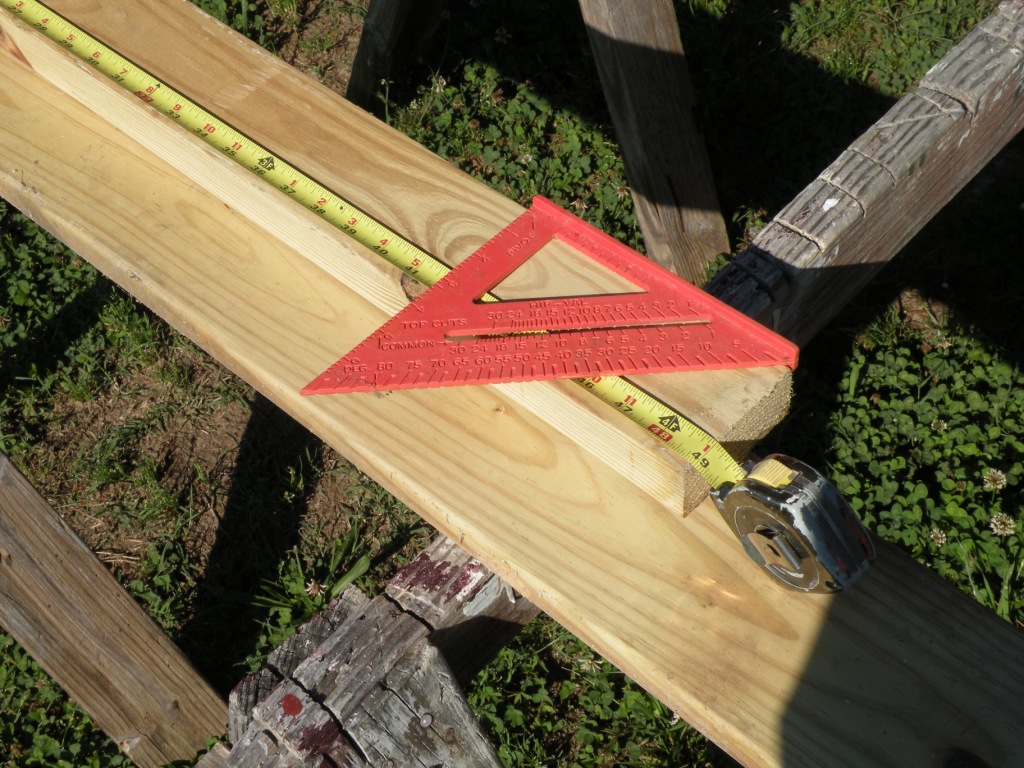
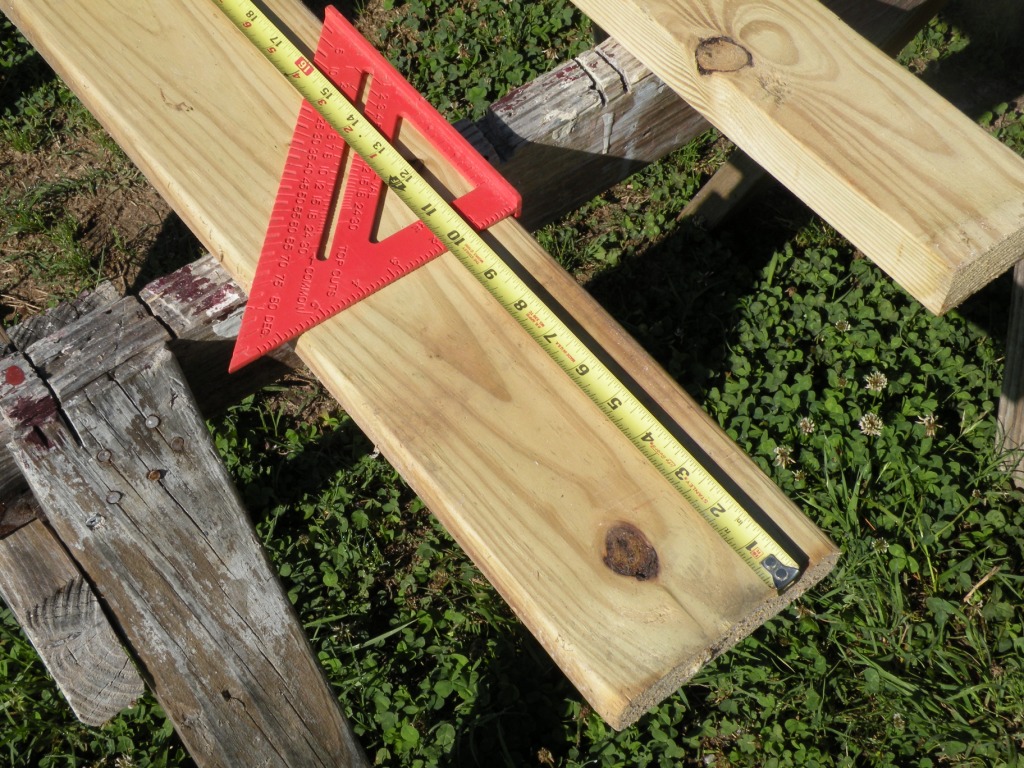
A 12 foot 2 by 4 (pressure treated) will make 3 post each 49 inches tall. Cut the top of the post at a 45 degree angle. These can be insalled at a height of 34 inches, with 15 inches in the post hole secured with concrete. An easy way to do the concrete is to pour dry sacrete mix into the hole around the post and then pour in water. Just leave it and it will cure making a solid mounting.
Using a 5/4 inch X 6 inch decking board (pressure treated) cut two lengths 1 inch longer than the width of the sign (for a 4" X 9" sign = 10 inch board) one for the mounting base and one for the hinged lid. Note: Freshly treated pine lumber will shrink as it dries. It is best to use treated lumber that has already dried as mounting the sign panel before the wood shrinks can result in the panel bowing up as the wood shrinks. If this happens loosen one end of the panel and re-attach into new holes.
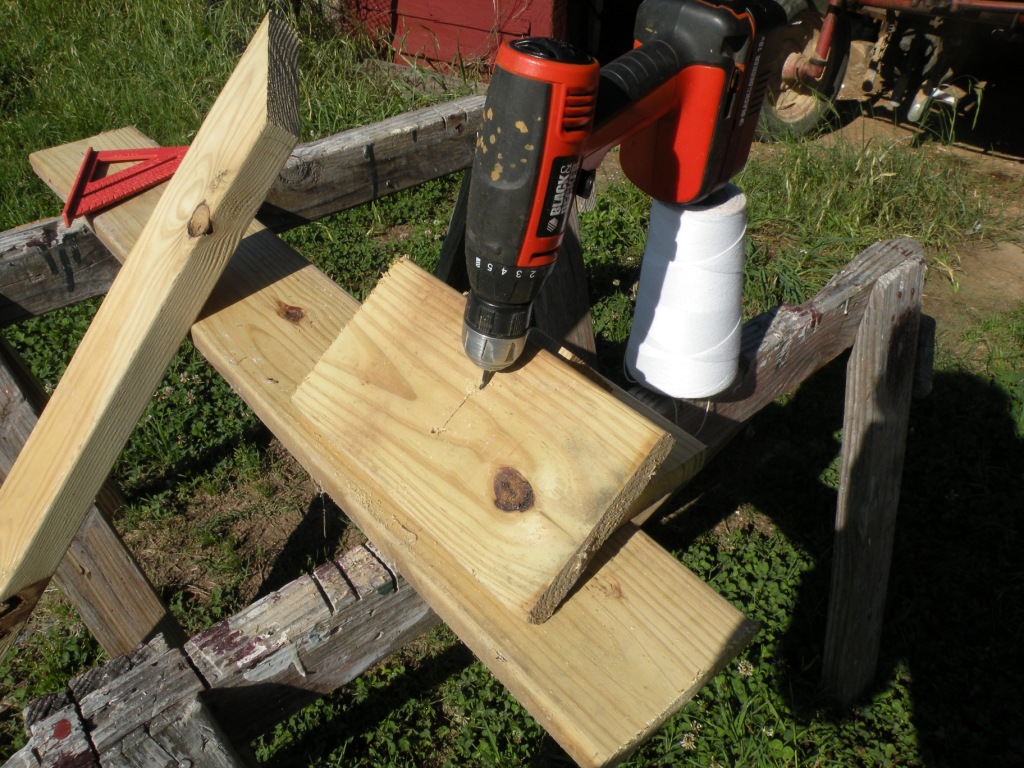
Mark the center of the mounting base board and drill two holes at an angle for screwing to the post.
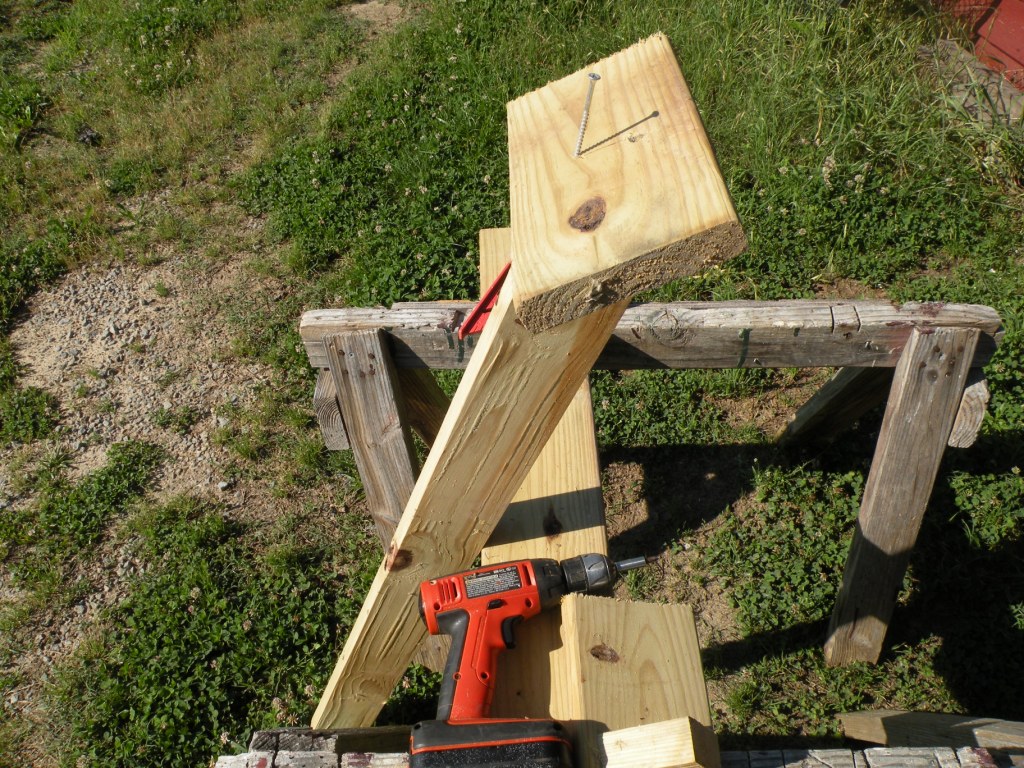
Using two 3 inch decking screws, fasten the mounting base board to the post.
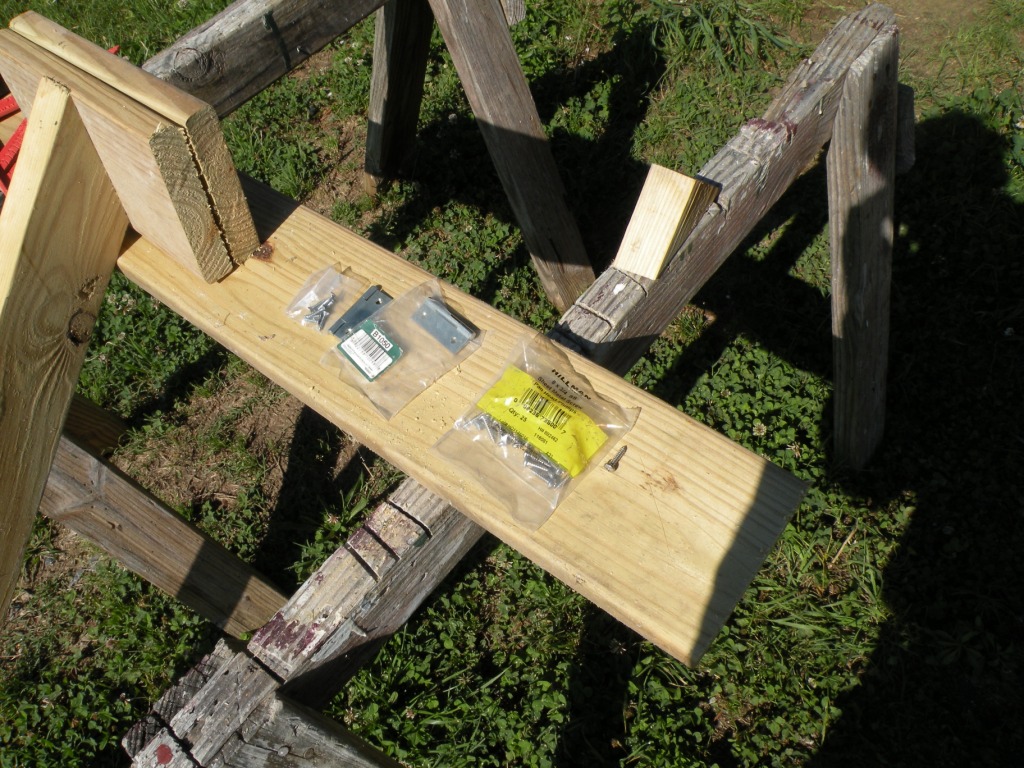
Use one or two hinges (3/4 inch X 2 inch hinges) it is best to use longer screws than the ones that come with the hinges for attaching the hinges to the mounting base and lid. Best to use Stainless Steel srews for mount the sign panels.
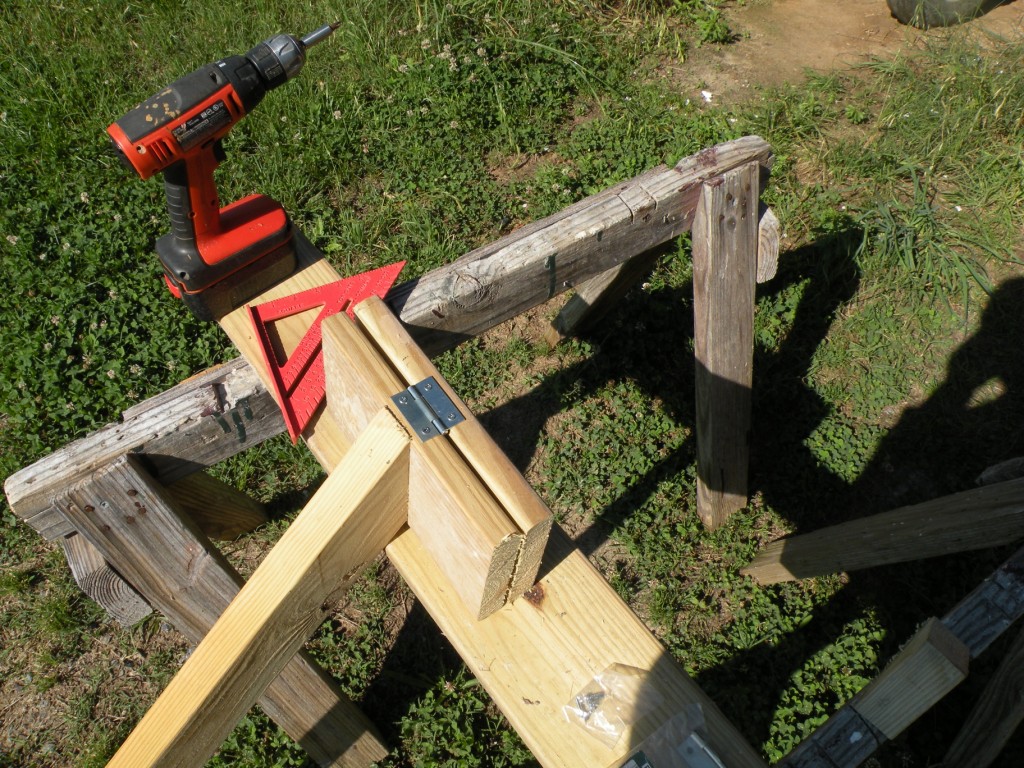
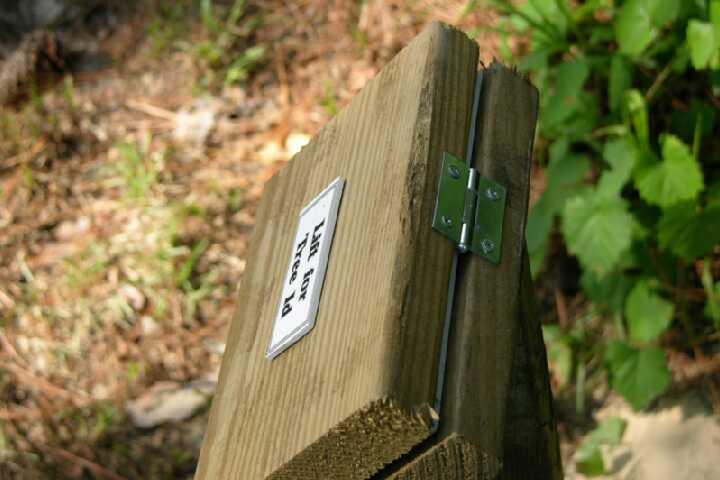
Attach the hinge as shown, backwards from a regular door installation, that way the lid will not flop over, but will return closed when let go after installing the post upright.
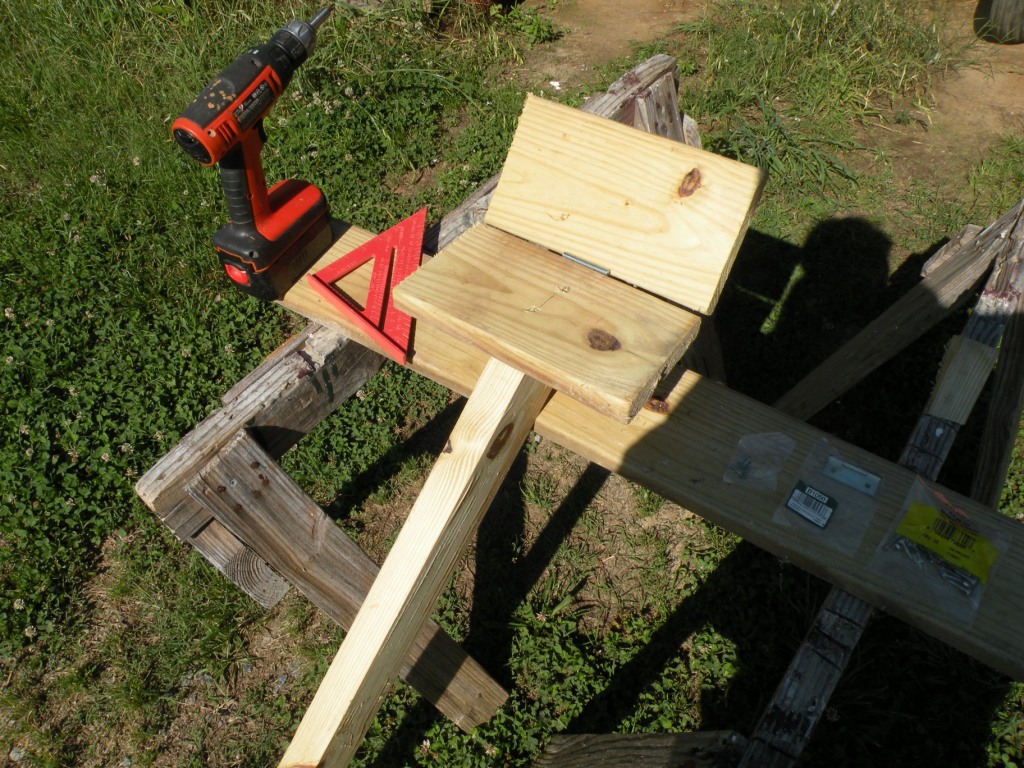
With the hinge backward the lid will not flop over.
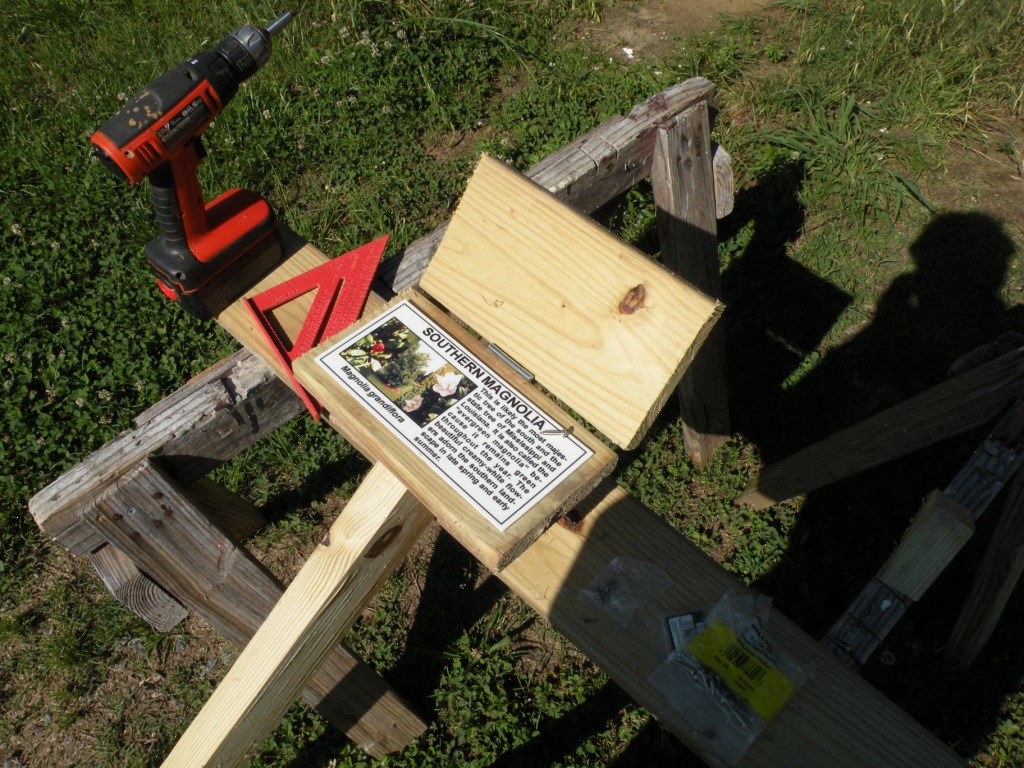
Option 1. Drill holes in the corners of the sign panel and install with stainless steel screws.
Option 2. Attach the sign panel using an adheasive or epoxy (Liquid Nails in a caulking tube works well).
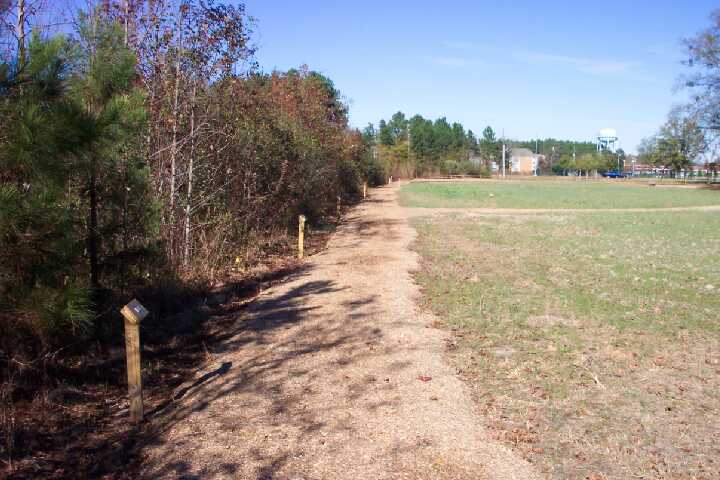
Installed post/pedestals along the trail.
Signs as used for an environmental education project.
Weather Proof Tree Identification Signs Produced by
David Arthur
Purchase your signs from this link!: